

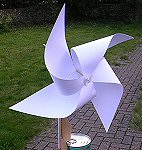
Some paper windmills (from left to right): 'Savonius', 'Radar', 'Santorini' and 'Sandcastle'designs
You can have fun and learn a lot experimenting with your own paper model windmill designs. A small office fan can provide wind but of course you can try them outside. What follows are some ideas to get you started but please have a go making up your own designs and please do send us your designs.
link to wind and wave power page
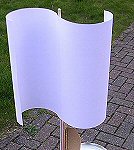
Design I - Savonius windmill
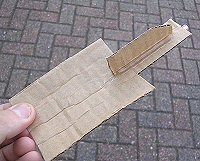
Cut a rectangle of card / thick paper and draw a line across shortest width across the center. Role up the card toward the center. Turn over the card and do the same with the other end to form a natural S shape. Glue a stick along the central line so that 4 -10 cm of so over hangs. Fit into the base.
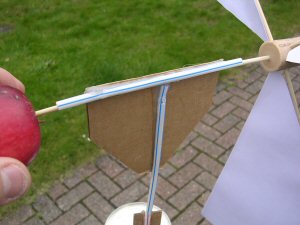
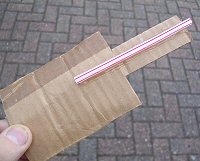
Also see the 'base details' at end of this article.
Design II - "Radar" windmill
A square tube is made up from paper about 30cm long and 3cm wide (a larger tube will move more slowly but may be more powerful). Cut into the tube down two of the corners about 7cm and fold into the opposite side bend over the side parts and secure in place with tape. Cut down the remaining corners and bend back - you should have something that looks a bit like the bottom of a square drain pipe. Do exactly the same thing on the other end but so the opening is on the other side (in other words do the reverse). Find the center of the device and make two holes through the tube slid in the stick and glue in place. Slide into the base.
Also see the 'base details' at end of this article.
Design III - Santorini Windmill
Take a cork and seven sticks. Push in three stick 120 degrees apart so that they come out at right angles to the side of the cork. Add another stick between each of these three but so they come out not at right angles but slightly higher angle. Cut out triangular thin paper sails and tape them to the sticks. Push the last stick into the back of the cork to make an axle. I used a crab apple as a counter weight at the back of the windmill - you can just see it in the pictures.
Design IV - "Sand castle" windmill
Make a square of paper or thin card say 20cm x 20cm. Draw lines between the corners and cut down these lines right in near the center, perhaps 3/4 of the way in. Make a small hole at the center. Take one of the cut corners (the pointed end) and bend it over towards the center to form a sort of flower petal. Make a hole near to the end so that it can be fixed (pushed onto) the axle which will be at the center. Do the same for every other end and you should then have something very like a sandcastle windmill. Glue the back and front of the paper to the axle.
Also see the 'Satonrini' design for details of the horizontal axle support.
Also see the 'base details' at end of this article.
Design V - Barrel windmill
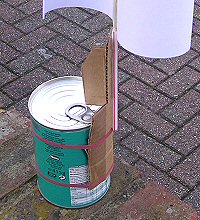
This is a variation of design I. We make use of the lip on a plastic top to hold the paper windmill vane in place. A few bits of tape will make sure everything is secure. The S shape is formed by hand and then slotted into the plastic top. Another top is placed over the opposite end. if you let go of the paper its own springiness holds it in place and naturally continues to form the S shape. Tape in place. Push a kebab stick or cocktail stick trough the middle of the first top and right through to and out the top on the other side. Make up a simple stand to lightly hold the stick. The barrel will rotate with a breeze.
An alternative design was made from the S shaped savonius turbine sandwiched and glued between two cds. A 30cm length of 15cm width paper / thin card was cut out. A wooden stick (kabab stick) was glued midway at the center (across the width. Then the S shape was formed and taped to the two cds to form a barrel turbine. Try to make sure that the stick axle goes through the middle of the cd hole so that it does not wobble too much. Straws and cardboard were used to make a support.
Design VI - "Turbine"
This is a bit like the turbine on an aeroplane engine except we are using the wind to make it spin rather than turning it to propel an aeroplane. Find a circular plastic mat (or perhaps use a small picnic plate) and cut into the circumference to make a sort of cog with teeth. Next twist each cog to make the turbine.
Also see the 'base details' at end of this article.
Design VII - ?? Windmill ??
We want your design!
Please e-mail us with your own design and I will add it to this page.
These designs were were made as part of the COAST Roadshow workshops during the summer of 2007. Thanks to The Open University and its BLAST! outreach team and in particular David Smith, Hermione Cockburn and Emily Unell.
THE CREATIVE SCIENCE CENTRE
home | diary | whats on | CSC summary | latest news