3D printed Geodesic Dome
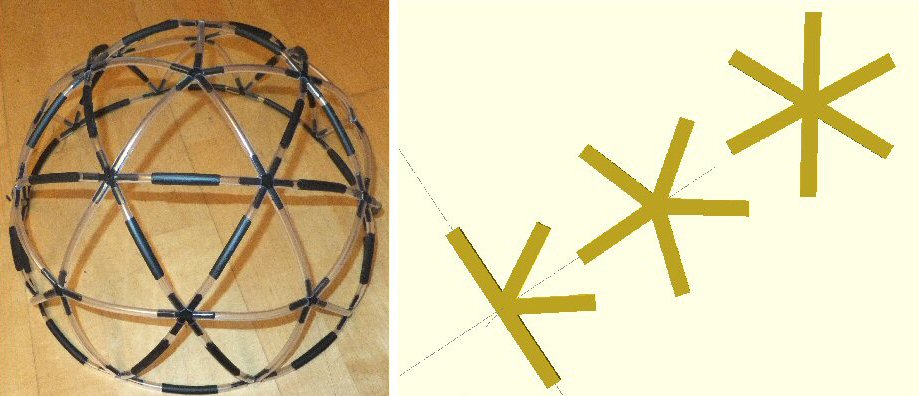
Here is a small Geodesic Dome model made from 3D printed connectors. I used small lengths of 6mm flexible plastic tubing as struts to make up the domes. The tubes simply push-fit into the 4, 5 and 5-way 3D printed connections. I used transparent tubing for the shorter struts and added a strip of black shrink-wrap to the longer one (see info below for details about lengths) but of course its up to you how you make it.
3D printing notes
The links below show the OPENScad code and .g for files each of the 4, 5 and 6-way connectors. To speed things up, I have also created a .g file that will print out 3 of each type. You will need ten 4-way, six 5-way and ten 6-way connectors for the complete dome. You will also need 35 long and 30 short tubes.
Flat sheets & pentagon curvature
You can cover a floor with triangular, square or hexagonal tiles. Pentagon (5 sided polygons) cause curvature of the surface. 12 pentagons will completely wrap-up a flat sheet into a spherical ball or cage.
12 pentagons on their own wrap to make a dodecahedron. If you put an extra edge between each pentagon you get a soccer ball (football: 12 pentagons and 20 hexagons). Larger cages become icosahedral.
A Geodesic Dome
Half a cage or ball will create a dome: six pentagons are therefore necessary. A dome with a convenient flat base (that can sit stable on the ground) can be made using six pentagons and 10 triangles. There is a pentagon on the top of the dome with five other pentagons radiating outward forming the side walls of the dome. Between each of these five pentagons are a pair of triangles. Each pentagon is joined into the middle creating five triangles giving 6 x 5 + 10 = 40 trangles in all.
The edges follow great circles around the dome taking the shortest path between the spherical surface connections. The Geodesic is the shortest path between two points, so the dome is a geodesic dome. A half sphere made up of triangles
If you join-up a regular hexagon toward the center you can see its made of six equilateral triangles. This is not true for a pentagon, where the outer boarder edges are longer than those going into the center. So the pentagon triangles are made of two different side lengths.
To make up a dome then, you need two different lengths of supporting struts: long (A) and short (B). The exact length is not too important and I have suggested two size length for the 3D printed part models (e.g. B = 0.9 A).
As there are six pentagons so there must be 6 x 5 = 30 short (A) struts (inside each pentagon). There are 35 long (B) struts in the boarder round the base, around the outside of each pentagon and in the extra equilateral triangles between five of the pentagons.
The edges or struts are joined together using connectors: there are ten 4-way connectors around the base, six 5-way connectors in the pentagons and ten 6-way connectors everywhere else giving a total of 10 + 6 + 10 = 26 connectors.
In summary we have:
40 triangles (10 are equilateral)
35 long struts (I used 67 mm lengths)
30 short struts (I used 60 mm lengths)
26 connections (4, 5 and 6-way)
How to construct the dome
1) Join up 10 of the 4-way connectors with 10 long tubes to create a large circle, use the two legs or posts that are 180 degree apart.
2) add alternate pairs of long and short tubes from the 2 remaining posts on the 4-way connectors so they form alternating regular and irregular triangles.
3) fit 6-way connectors to the tops of the long pair to create equilateral triangles.
4) fit 5-way connectors to the top of the short tube pairs. These will eventually form the center of pentagons.
5) use short tubes to join all the triangle 'tops' so that a ridge, or wall, forms that stands off from the ground.
6) wherever there is a pair of long tubes coming to a 6-way connector add another pair pointing upward like a V. Add a 6-way connector to each end and join the two up with a long tube to form the second equilateral triangle (forming a pair).
7) add one short tube to the remaining post of each of the 5-way connectors. These also connect to the 6-way connections created in 6) if you bend the structure in a bit. We have almost completed the dome.
8) add 5 short tubes to the last unused post on the 6-way connectors.
These lead to a final 5-way connector at the top of the dome.
|
wiki Geodesic dome |
wiki Buckminster Fuller |
3D C60 (Buckyball) |
".stl" file ".scad" file ".g" file ".g" multiple file |
back to 3D page |
THE CREATIVE SCIENCE CENTRE
home | diary | whats on | CSC summary | latest news